 Contact Us
How to Reserve a Community Room
Library Calendar includes a feature that allows patrons to use the website to submit room use requests.
Go to allegany.librarycalendar.com. You have two different options for reserving a room: reserving by room and reserving by time.
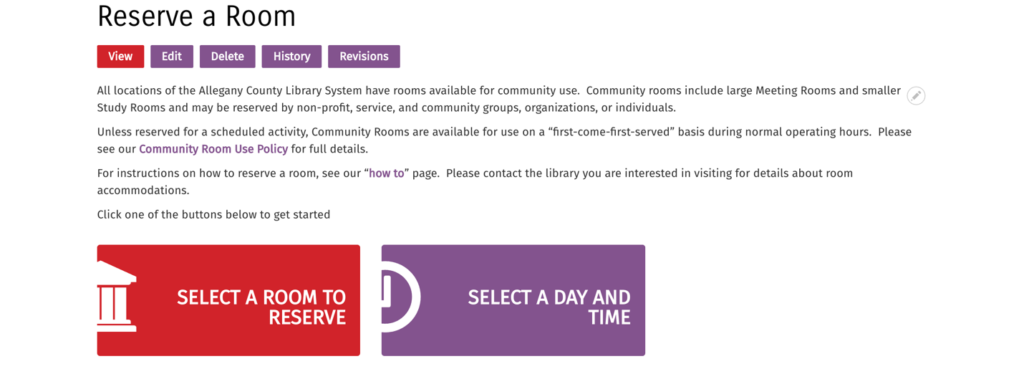
Choosing Select a Room to Reserve will show you list of all rooms at the library. Click the title of the room or its Room Details button to select a date and time for your reservation.
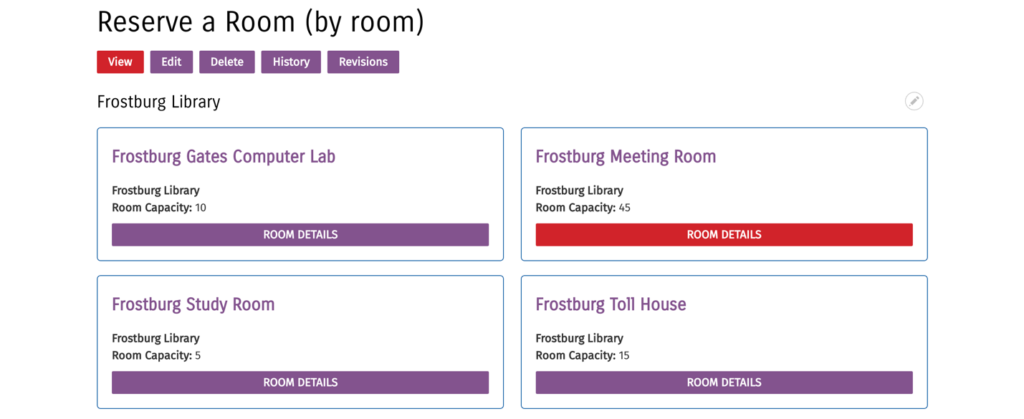
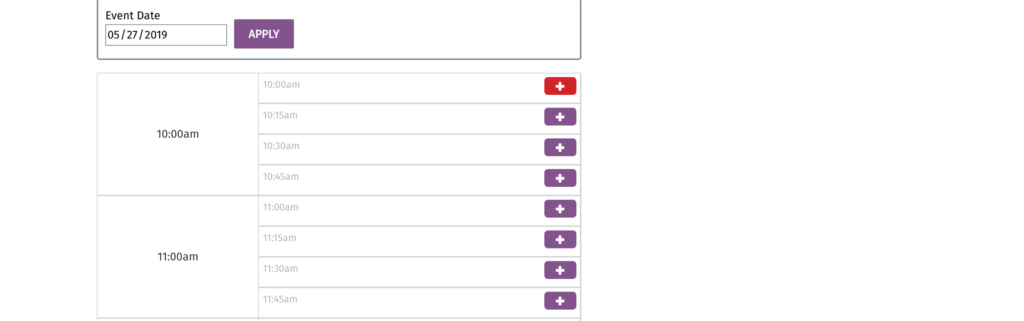
The Room Details page will display all the information about the room, including the room capacity. Use the date selector to look at the room’s availability on a given day—make sure to click Apply Filters after changing the date. The daily calendar underneath will display the hours the room is available. Any greyed-out blocks are not available.
Click the + button to select a start time for your reservation and go to the application.
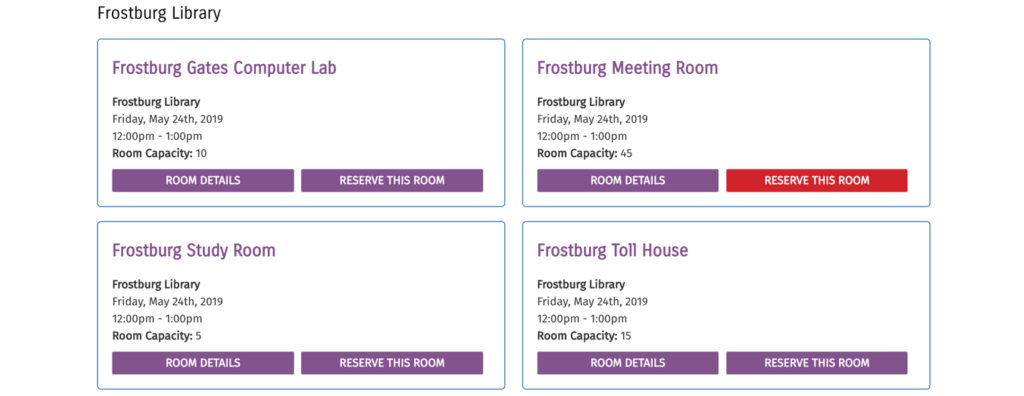
If you choose Select a Day and Time, you can use the filters to search for rooms that are available on a specific date, time, and duration. Click Apply Filters to generate a list of which rooms fit your criteria. Click Reserve this Room to go to the application.
After selecting a room and a time, you will go to the Create Reservation form. Fill out this form with the information about your meeting, making sure to answer all required questions (noted with a red asterisk). The form will ask for:*
- Title: name your event
- Terms & Conditions: read the room reservation policy, and then check this box
- Library Branch: select the library branch where you want to reserve a room
- Room: select your room (defaults to the one you selected on the previous screen)
- Expected Attendance: let us know how many people are expected to be there
- Setup & Teardown Time: add a buffer time to the beginning and end of your event (15 minutes to 1 hour) to block off extra time to set up and clean the room
- Event Date: select your meeting start date and time ( this defaults to the one you selected on the previous screen) and your meeting end date and time
- Contact Name: add the name of the contact for the reservation
- Contact Email: let us know where to send notification emails
- Contact Phone Number: let us know what number you can be reached at
- Organization: give us the name of the organization hosing the meeting
- Non-profit confirmation: According to our room reservation policy, the library community rooms are intended for and may only be reserved by nonprofit, service, and community groups, organizations, and individuals. The direct sale of materials and services is prohibited. Study Rooms may be reserved for use by private tutors or others working directly with students. Select from the non-profit drop-down menu to confirm that you meet these conditions.
- Special Requirements: list any additional room needs or questions for your meeting
- Purpose of meeting: Briefly explain the purpose of your meeting.
After completing the form, click “Submit” to send your
reservation request to the library staff.
Your will receive an email confirmation when we have received your
request and when it has been approved.